
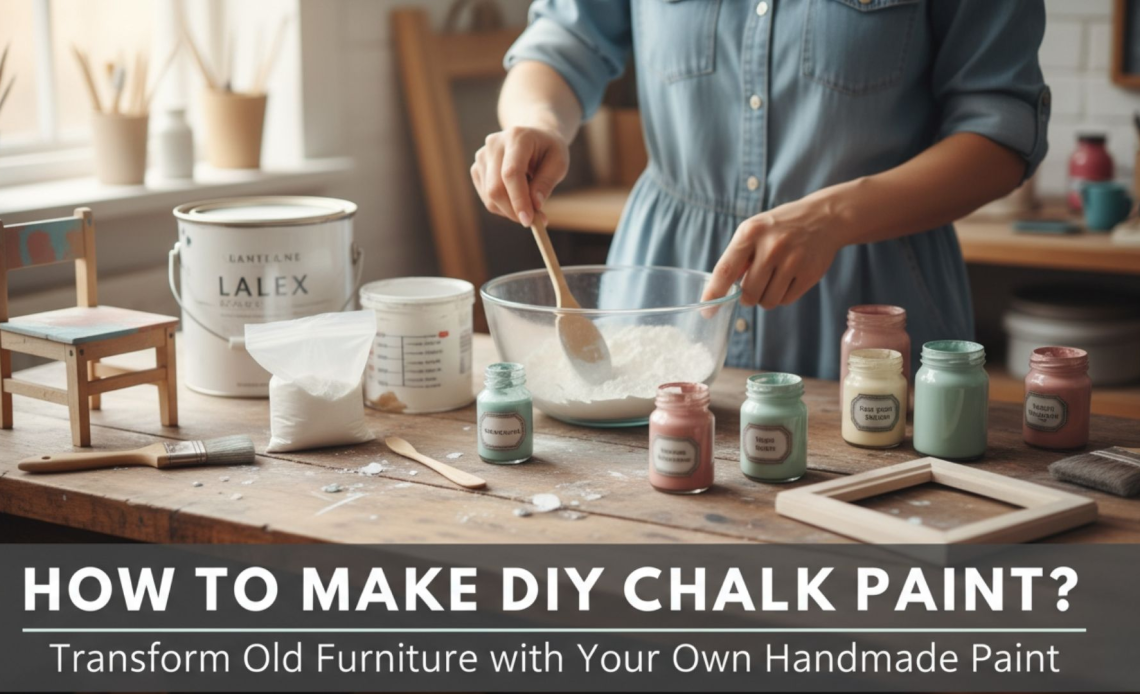
If you love the soft, matte look of chalk painted furniture but not the price of ready made cans, mixing your own chalk paint is a smart workaround.
With a few simple powders and regular latex paint, you can create a chalky finish that grips to tired furniture, updates accessories, and covers dated finishes without days of sanding.
This guide walks you through what chalk paint actually is, three reliable DIY recipes, and the prep, application, and sealing steps that help your projects hold up in real life, not just on Instagram.
What Is Chalk Paint?
Chalk paint is a water based decorative paint that dries to a very matte, velvety finish. It is formulated to stick to many surfaces with minimal sanding or priming and is popular for giving furniture a vintage, shabby, or rustic look.
Commercial chalk paints typically combine a fine mineral powder such as plaster of Paris or calcium carbonate with water and tinting pigments.
The original Chalk Paint product was created in 1990 by artist Annie Sloan, and that name is a registered trademark, which is why many other brands describe their versions as chalky finish or chalk style paint instead.
DIY chalk paint works on the same idea. You combine regular acrylic or latex wall paint with a mineral additive that gives it that flat, chalky look and better adhesion.
It will not be an exact copy of any branded formula, but for most home projects it comes very close.
Choosing Your DIY Chalk Paint Recipe
There are dozens of homemade chalk paint recipes floating around.
Most fall into three camps:
- Plaster of Paris based
- Calcium carbonate based
- Baking soda based
All three can work. The right choice depends on the finish you want, what you can buy easily, and whether you prefer a smoother or more textured look.
Below are three tried and tested options, with practical ratios that have been used successfully by many DIY furniture painters.
1. Plaster Of Paris DIY Chalk Paint
Plaster of Paris is one of the most popular additives because it is inexpensive and widely available in craft and hardware stores. It creates a classic chalky finish with good coverage.
A dependable furniture recipe is:
Mix ½ cup plaster of Paris with ½ cup cool water until completely smooth, then stir that into 1½ cups latex paint with a matte, eggshell, or satin finish.
You are looking for a consistency similar to cream, not as thick as pudding but not watery either. Add a splash of water if it feels too thick as you work.
How to mix it:
Start by combining the plaster and water in a separate container and stir thoroughly until there are no lumps. Only when that mixture is silky do you add the paint.
If you skip this step and dump the powder straight into the paint, you often end up with gritty, uneven results.
Because plaster of Paris can begin to set as it sits, mix small batches you can use within a day rather than a full gallon at once.
Many DIYers store leftovers in a sealed jar for a few days, but you may need to thin it again with water before the next use.
Read More: 12 Pro Painting Tools
2. Calcium Carbonate DIY Chalk Paint
If you prefer a smoother, creamier paint that levels nicely, calcium carbonate is a good choice. Calcium carbonate is basically very fine chalk powder and is often sold as a supplement or as pure chalk powder online.
A common starting ratio is roughly 2 parts calcium carbonate to 3 parts paint by volume, or about 4 tablespoons of calcium carbonate mixed with a couple of tablespoons of water, then blended into 1 cup of latex paint.
Calcium carbonate based chalk paint tends to:
- Feel smoother and less gritty than many plaster recipes
- Offer strong adhesion and good coverage
- Stay workable in the container longer without thickening too quickly
You can mix it by hand, but many experienced painters use a small blender that is dedicated to craft use to get an ultra smooth texture.
3. Baking Soda DIY Chalk Paint For Rustic Texture
Baking soda chalk paint is not as silky as the other two, but it is useful when you want deliberate texture and a more rustic, aged effect without heavy distressing.
One practical formula uses about 1 part baking soda to 2 parts latex or acrylic house paint, for example ⅓ cup baking soda mixed into ⅔ cup paint.
The baking soda particles create a slightly grainy, raised finish. On furniture, that texture can be emphasized with glaze or wax. On smaller decor like vases, pots, or picture frames, it adds instant character that hides minor surface flaws.
Because baking soda reacts with moisture, mix smaller batches as needed and do not expect this version to store well for long.
Prepping Your Surface
One of the reasons chalk paint became so popular is that it needs far less prep than regular wall paint. That does not mean you can skip preparation entirely.
A few simple steps make the difference between a finish that lasts and one that chips as soon as you slide a plant pot across it.
Clean thoroughly with a degreasing cleaner or a mix of mild detergent and warm water to remove wax, polish, grease, and dust.
Glossy varnishes, melamine, and laminate benefit from a quick scuff sand with fine grit paper just enough to knock the shine back.
Always repair loose veneer, deep scratches, or peeling finishes before you paint, because chalk paint will not hide structural problems.
If your piece has heavy wood tannins or old oil based finishes that tend to bleed through, consider a stain blocking primer just on those problematic areas. It adds a step, but saves you from yellow patches later.
Read More: How To Paint Shiplap?
How To Apply DIY Chalk Paint?
Application is forgiving, which is why chalk paint is friendly for first time furniture painters.
Stir the chalk paint well, then load a synthetic brush or a small foam roller and apply the first coat in relatively thin, even passes.
Do not worry if it looks streaky at this stage, especially with the plaster based recipe. That first coat is about grip more than perfection.
Let it dry fully, usually 30 minutes to a couple of hours depending on the recipe, paint brand, and climate. Then add a second coat. Most pieces look solid after two coats, but very dark wood under light paint can need a third.
If you are aiming for a distressed, vintage look, you can gently sand raised edges, corners, and details between coats or after the final coat using fine sandpaper. Wipe away any dust with a damp lint free cloth.
Sealing And Curing Your Chalk Painted Finish
Chalk paint on its own is porous. For anything that will be handled often, sat on, or have cups and plates set on it, a protective topcoat is essential.
You have three main options:
- Soft wax gives a classic hand rubbed finish with a subtle sheen. It suits dressers, side tables, and decorative pieces. Applied in thin coats and buffed, it enriches color and can be refreshed over time.
- Water based polyurethane or polycrylic in a matte or satin sheen is tougher and more practical for kitchen tables, kids furniture, and cabinets. It resists water rings and scratches better than wax, though it can slightly deepen or change the color.
- Speciality chalk paint sealers combine the ease of poly with a very flat look and are worth considering for heavy use areas if you are willing to pay more.
Whichever topcoat you choose, follow the drying and curing times on the label. Most chalk paint projects feel dry within hours but can take a couple of weeks to reach full hardness, so treat new finishes gently for the first fortnight.
Common DIY Chalk Paint Issues
Even simple recipes sometimes misbehave. Here is how to fix the most common problems before they ruin a project.
- Paint feels gritty or lumpy: This usually means your powder was not fully dissolved before you added the paint or the mixture has started to set. Strain it through a fine mesh or an old nylon stocking, or remix a fresh batch and stir the powder with water until it is totally smooth first.
- Paint is too thick: Add a teaspoon of water at a time, stirring thoroughly until you get a creamy flow from the brush without globs. With plaster based mixes, expect the paint to thicken a little as you work and have water on hand to loosen it.
- Paint is too runny and drips: You may have added too much water or used a very glossy base paint. Add a little more powder, mix well, and apply thinner coats, allowing each to dry completely.
- Poor adhesion or peeling: Grease, silicone furniture polish, and high gloss finishes are common culprits. Next time, spend extra time on cleaning and do a quick scuff sand or spot prime problem areas before painting.
- Stains or yellow patches bleeding through: Tannins and old finishes can bleed through light chalk paint colors. Stop, let it dry, spot prime those areas with a stain blocking primer, then repaint.
Read More: DIY Painting for Beginners: Essential Tips and Tricks for a Professional Finish
Conclusion
Making your own chalk paint is less about chasing an exact secret formula and more about learning how different powders behave with the paint you already have.
Plaster of Paris gives you classic coverage and a traditional chalky look. Calcium carbonate offers a smoother, refined finish that many furniture painters swear by.
Baking soda comes into its own when you want texture and patina without complicated techniques. Once you understand the basics of prep, mixing, application, and sealing, those simple ingredients open up a lot of creative freedom.
Start with a small side table, picture frame, or set of jars, keep your first batches small, and take notes on the ratios that work best for you.
After a project or two, you will have a house full of custom, chalk painted pieces that look curated rather than cobbled together, all for a fraction of the cost of store bought chalk paint.