
A fresh coat of paint can completely change a room, but the secret to that smooth, professional finish is not just the paint you choose. It is the tools you use.
Pros rely on a tight kit of essentials that make the job faster, neater, and far more predictable. Build your own version of that kit and even a weekend project can look like it came from a crew that does this every day.
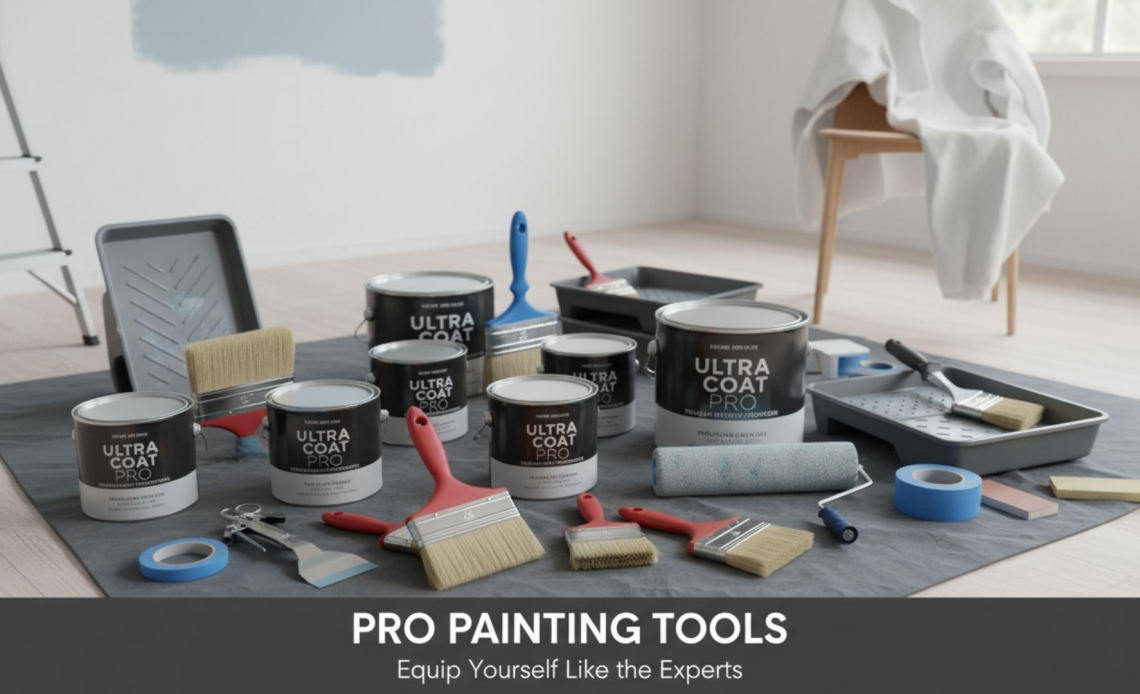
Below are twelve pro level painting tools that are genuinely worth owning, plus how each one actually helps when you are standing in a room with walls to transform.
1. Angled sash brush for clean cut lines
If you buy only one professional tool, make it a high quality angled sash brush. The angled bristles give you precise control where walls meet ceilings, trim, or corners.
A good brush holds plenty of paint without dripping and releases it smoothly so you do not get those telltale lap marks.
Look for a brush that feels comfortable in your hand, with flagged, synthetic bristles that spring back into shape.
Use it to cut in along edges before you roll. With a little practice, you can often skip taping every edge and still get razor sharp lines.
2. Premium roller frame that does not flex
Most people treat the roller frame as an afterthought, but pros know a cheap frame can twist, chatter on the wall, and leave uneven coverage.
A sturdy frame with a solid core and a smooth rolling cage keeps the roller cover in full contact with the surface and spreads paint more evenly.
Choose a frame with a comfortable grip and a secure locking mechanism for an extension pole. The better the frame, the less pressure you need to apply, which means less fatigue and fewer streaks.
Read More: How To Paint Shiplap?
3. Quality roller covers in the right nap
The roller cover is where your paint actually meets the wall, so quality matters. Pros match the nap length to the surface.
Shorter naps work best on smooth walls and doors, while medium naps handle most standard interior walls. Longer naps suit textured surfaces.
Cheap roller covers can shed lint into your finish and leave you picking fuzz out of wet paint.
A dense, well made cover will load more paint, roll longer, and produce a smoother result with fewer passes. Before you start, rinse new covers and spin them dry to remove loose fibers.
4. Extension pole for reach and speed
An extension pole is the tool that quietly transforms your painting day. Even in rooms with standard ceilings, a pole lets you roll large areas from the floor without constantly climbing a ladder.
You get longer, continuous strokes which reduces lap marks and speeds up the job. Look for a pole that feels light but rigid, with a comfortable grip and a reliable locking mechanism that does not slip while you work.
Once you are used to it, you will use a pole for walls as well as ceilings, simply because it is faster and kinder on your back and shoulders.
5. Painter’s tape that actually seals
Painter’s tape is not just for beginners. Pros use it strategically where they need perfectly crisp edges or where surfaces meet at awkward angles, such as around window hardware, baseboards, and outlets.
The key is to buy tape designed for painting, not generic masking tape. Good painter’s tape sticks cleanly, resists bleed through, and removes without tearing or leaving residue.
Press the edge firmly with a putty knife or a plastic card before painting, then peel it back slowly at an angle while the paint is still slightly tacky for the best line.
6. Paint pail with liner and brush magnet
Instead of constantly dipping into a large paint can or tray, professionals often use a handheld paint pail.
It keeps a manageable amount of paint right where you need it and is much easier to carry around ladders and tight corners.
Choose a pail with disposable liners and a built in magnet or rest for your brush. The magnet holds the metal ferrule of the brush and keeps bristles out of the paint between strokes.
This simple tool cuts down on spills and drips and makes cutting in faster and more comfortable.
Read More: Top 11 Paint Sprayers For DIY Projects
7. Patch kit with putty knife and spackle
No paint can hide dents, popped nail heads, or hairline cracks on its own. That is where patching tools come in. At minimum, you want a flexible putty knife and a quality premixed spackle or joint compound.
Use a smaller knife for nails and small dings and a wider one for broader repairs. The goal is to fill only the damage, not create a raised hump.
Let the patch dry fully, then sand it smooth so it disappears under fresh paint. Pros spend more time on patching than most people expect, because every flaw shows once the walls are a uniform color.
8. Sanding sponges and a pole sander
Sanding is what separates flat, refined finishes from bumpy ones. A mix of sanding sponges and a pole mounted sanding head gives you control over both detail and broad areas.
Use sanding sponges around trim, corners, and repairs. They conform to the surface and are easy to grip.
For large walls and ceilings, a pole sander lets you feather repaired spots into the surrounding surface and knock down roller stipple or dust nibs between coats.
Always vacuum or wipe down the walls afterward to remove dust before you paint again.
9. Caulk gun with paintable caulk
Gaps around trim, windows, and baseboards create dark lines and shadows that make even a fresh paint job look tired. Pros close those gaps with a quality caulk gun and paintable acrylic latex caulk.
Cut the caulk tube tip small, at a slight angle, and apply a consistent bead along the gap. Smooth it with a damp finger or a caulk tool, then wipe away excess.
Once it cures, the painted surface looks continuous and finished, with fewer shadow lines and draught paths.
10. Canvas drop cloths to protect floors
Plastic sheets are tempting because they are cheap and pack small, but professionals almost always reach for canvas drop cloths.
Canvas lies flat, does not slide as easily underfoot, and absorbs small drips instead of letting them sit and transfer to your shoes.
Use canvas to cover floors and large furniture. For extra protection in high traffic areas, pair it with rosin paper or a similar floor protection product.
Protecting surfaces properly means you can move confidently and focus on painting without worrying about every drop.
11. Multi purpose painter’s tool
A multi purpose painter’s tool, often called a 5 in 1 tool, earns its place in every professional’s pocket.
The flat blade scrapes loose paint and opens cracks, the curved notch cleans roller covers, the pointed tip digs out loose caulk or putty, and the edges can pry open cans or remove nails.
Instead of hunting for different small tools, you keep this one on hand and use it dozens of times in a single room. It speeds up prep, makes cleanup easier, and helps you work more efficiently from start to finish.
12. Bright work light for inspecting your finish
Natural light changes through the day and overhead fixtures are rarely strong enough to reveal flaws in time to fix them.
A bright, portable work light is a quiet pro secret. Aim it across the wall at a shallow angle and any roller marks, missed spots, or rough patches will jump out.
Inspect walls after priming and again after your first coat. It is far easier to correct issues while you are still in the middle of the job than to discover them a week later when a sunny afternoon hits the wall.
Read More: DIY Painting for Beginners: Essential Tips and Tricks for a Professional Finish
Conclusion
Professional results at home are less about hidden tricks and more about using the right tools in a consistent way.
Build a small kit around these twelve painting essentials and you will spend less time fighting drips, lap marks, and rough patches, and more time actually transforming your space.
With good tools in your hands, even a simple color change starts to look like the work of someone who paints for a living.